
Cabinetmaker


The client owns a set of original Wegner China Chairs but they were too wide to fit enough around their dining table (the round wenge table we made).
Some subtle features and others quite extreme.
We put together a prototype which was retouched by B5.
With the base established, the technical work was in the back.
This is the form used to press the laminate back. Five sheets of 1/16th mahogany.
There is a compound curve where the back splat meets the crest rail.
By placing the profile of the back splat under the form, I could cut out the shape on the overhead router.
Before and after shaping.
Cutting the top of the splat on an angle to meet the crest rail.
The splat is secured in a jig held square to the cutter and the pin in the router traces the desired shape.
The top of the form gives me a curved surface upon which to run a handheld router.
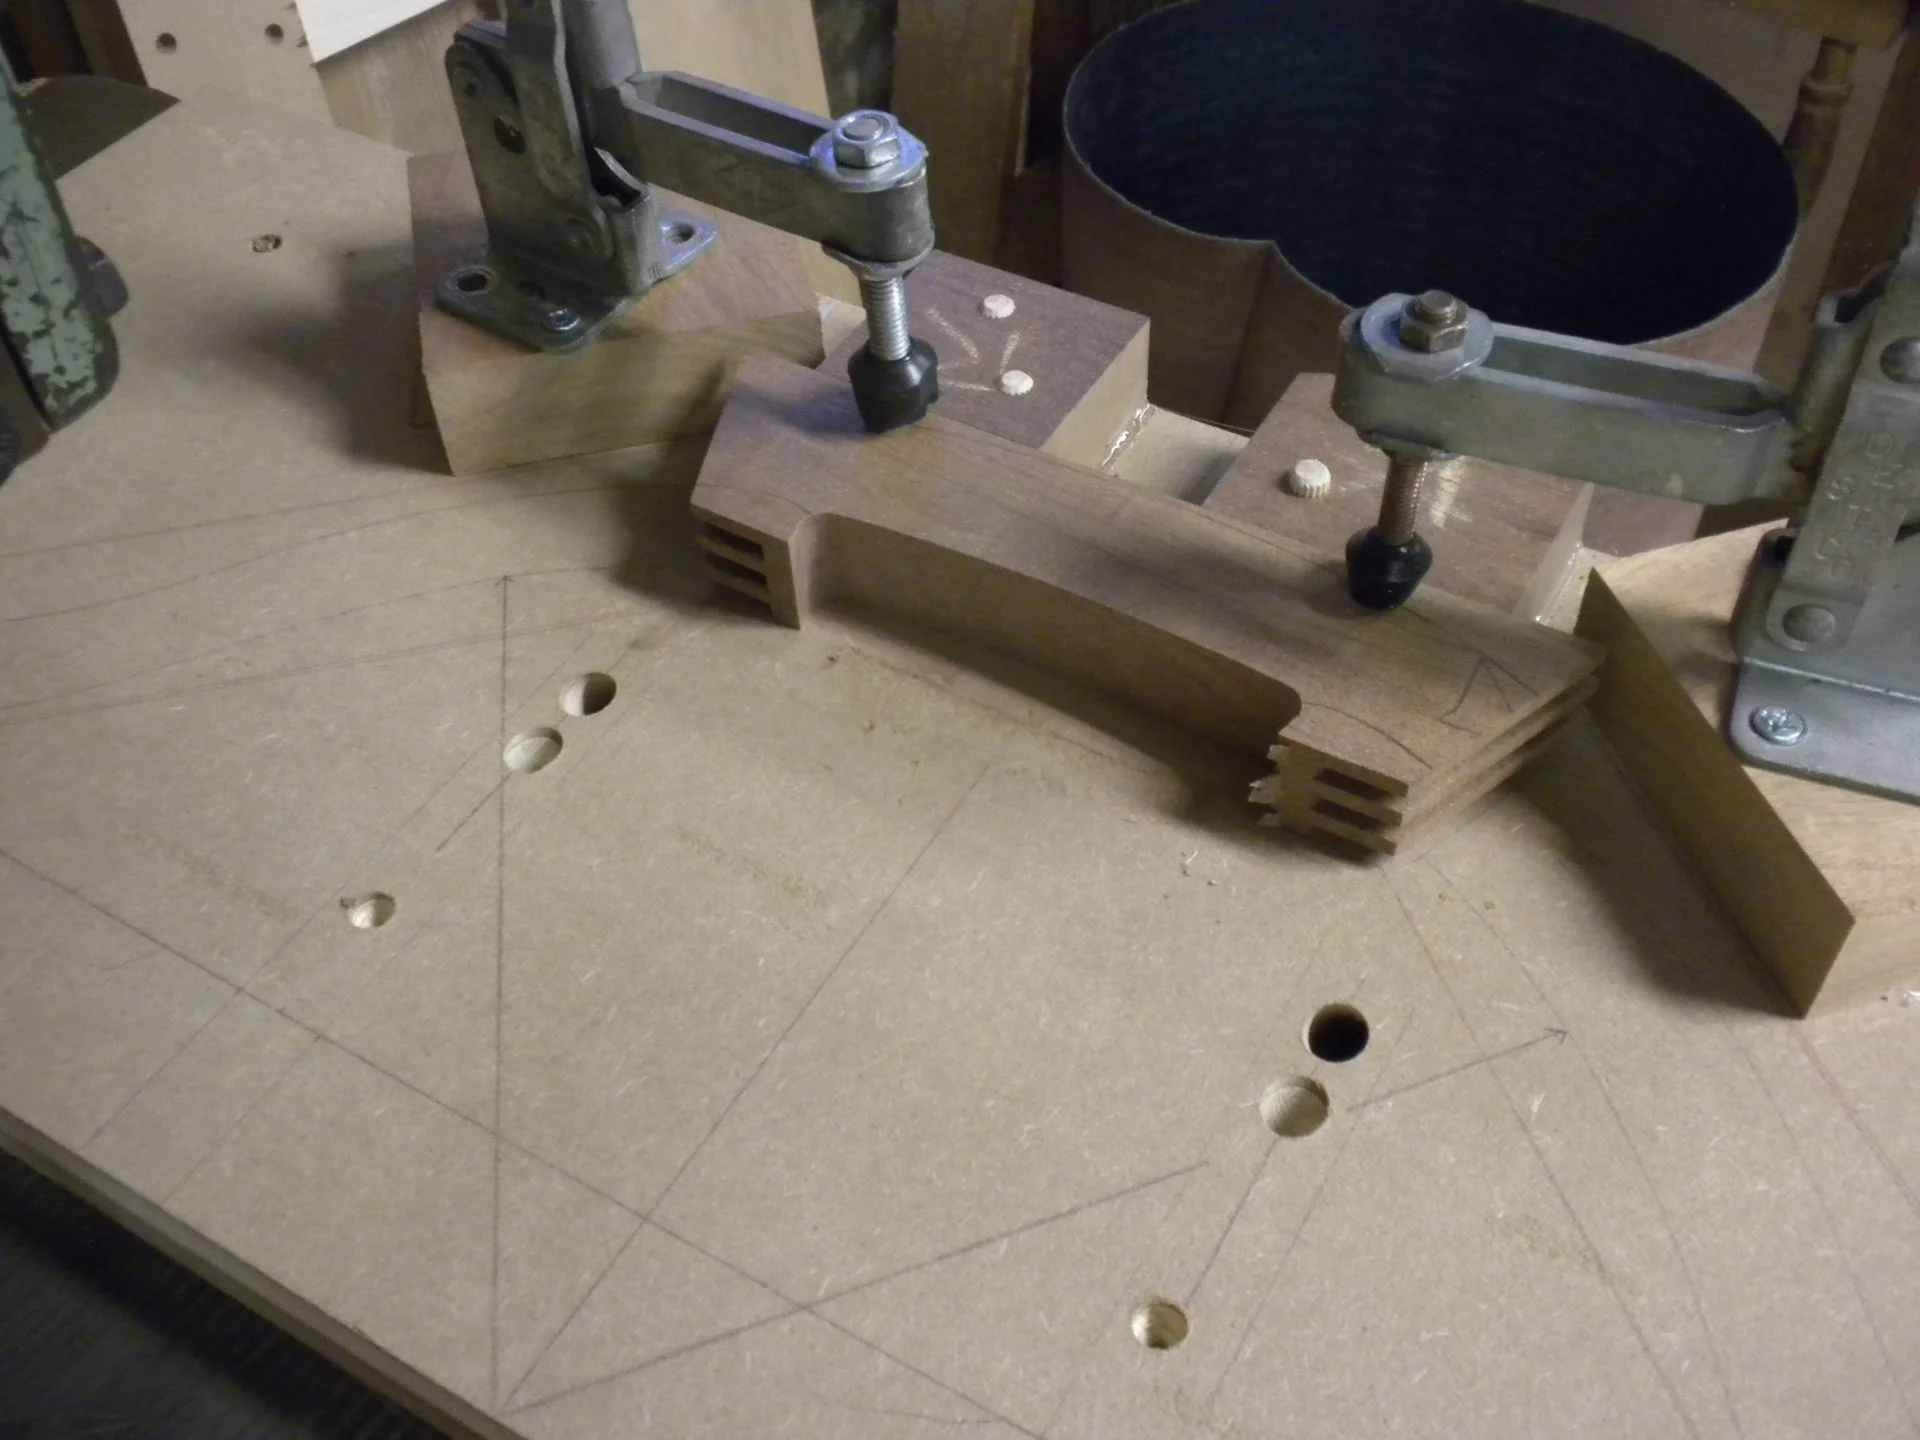
Bearing off the piece itself you get a tenon on a compound curve.
This is the middle piece of the crest rail. There are shallow holes in the back of each that locates the piece on the jig.
Locked down...
Front curve where the back splat meets the crest.
A 45 on the edge is the face against which the shoulders of the back splat tenon will eventually meet.
This jig is used to cut the mortice in the crest rail.
The piece is held tight with opposing finger joint stock.
Mortice cut with router and guide bushing.
With the mortice cut the center piece is ready to be joined to the two side pieces.
Crest rails glued up.
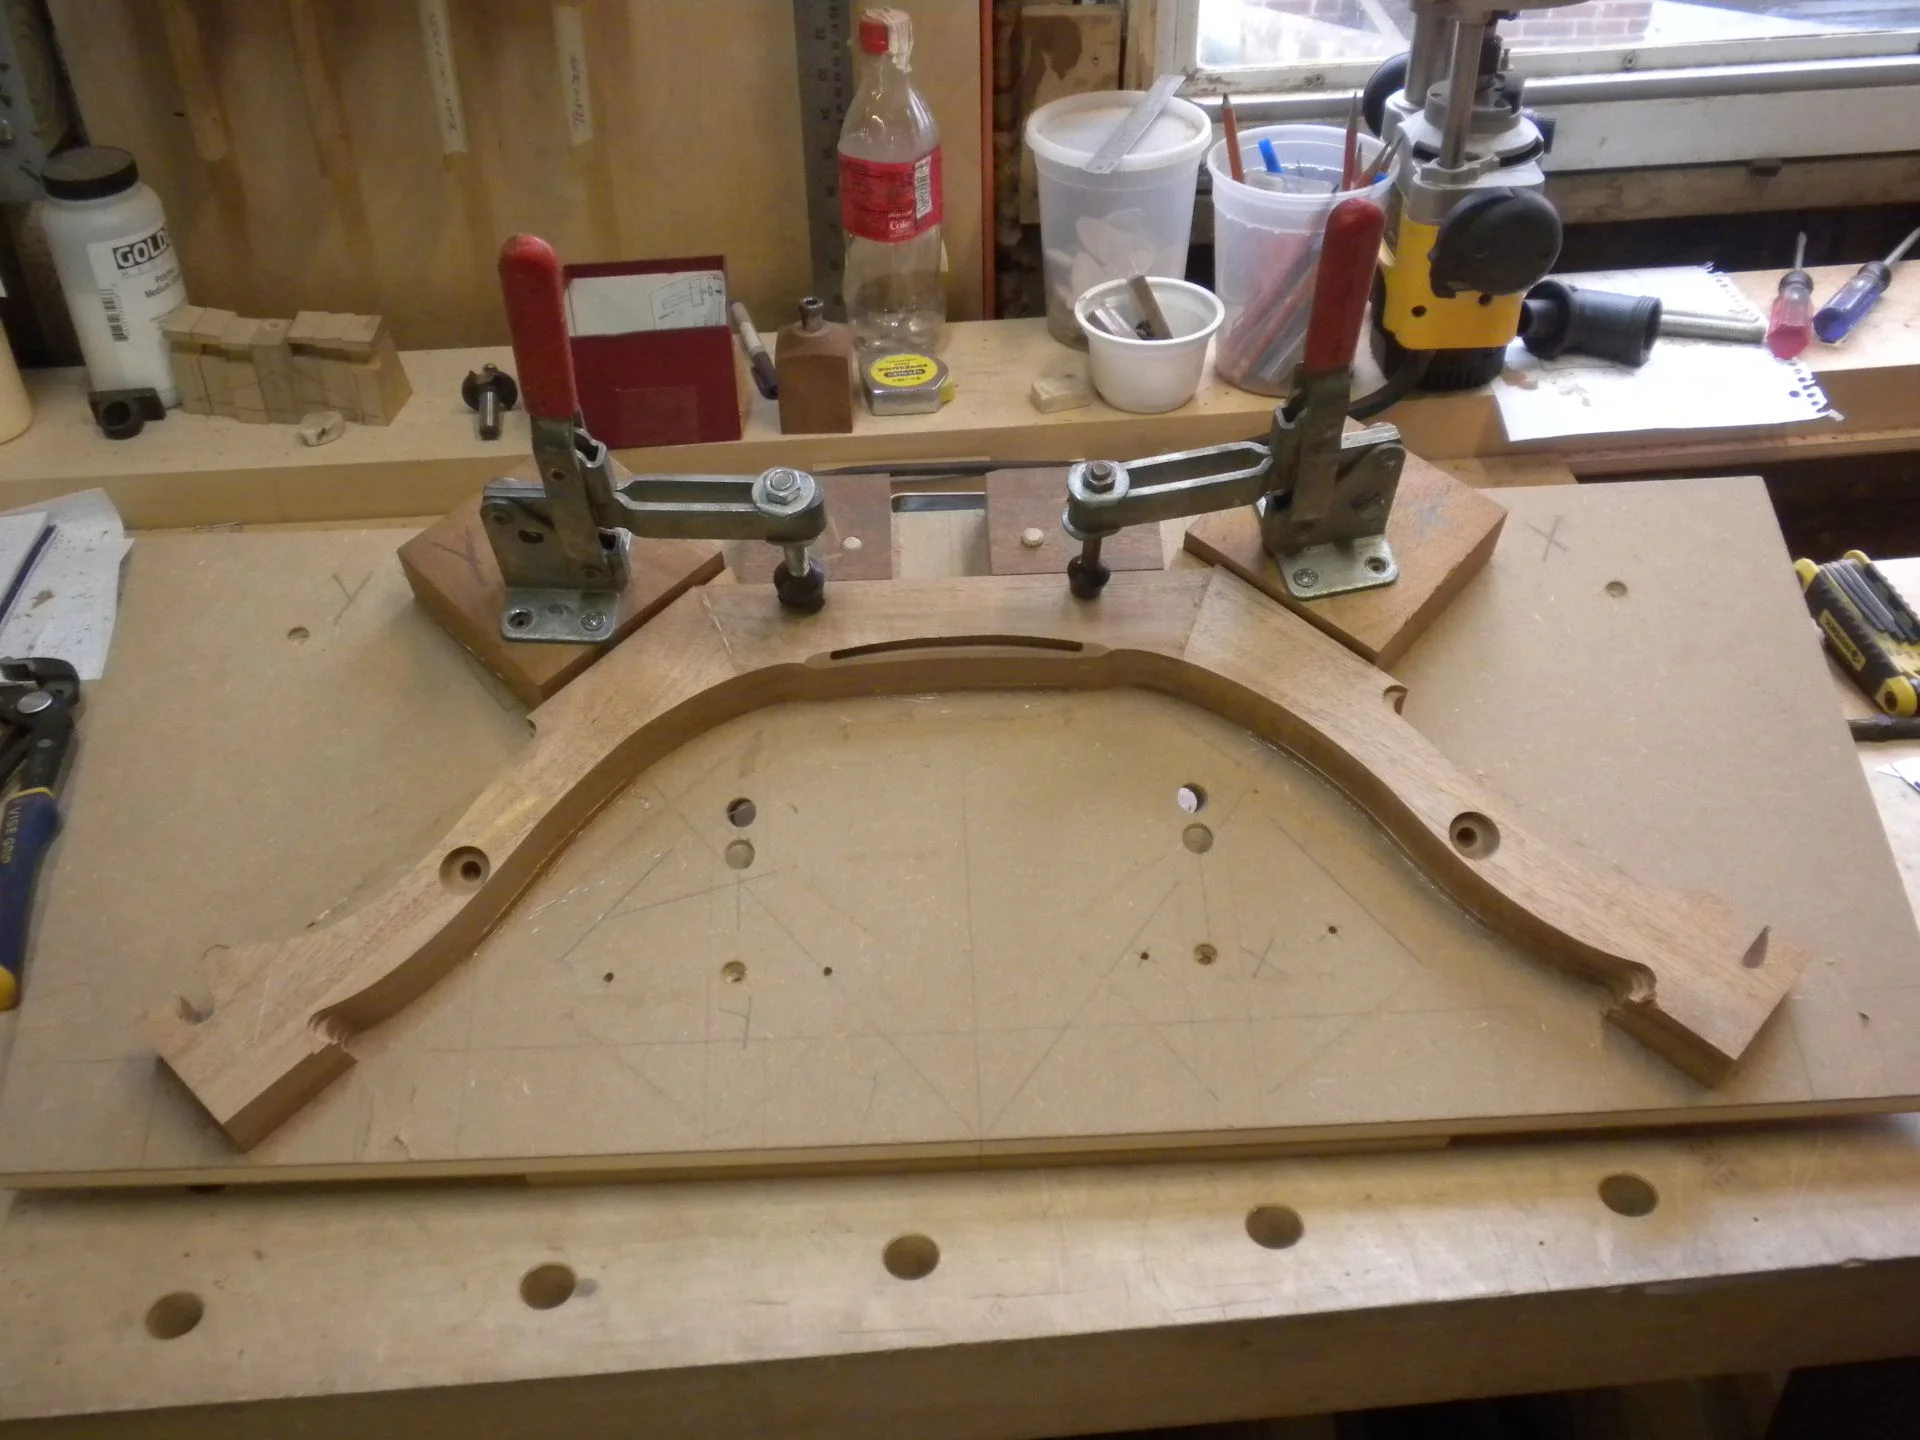
With the overhead vertical, the crest rail is on an angle to cut the holes for the back legs.
The same base jig from earlier with the dowels used to locate the crest rail in the same place for each cut.
Mortice for the back leg and a centered dowel for strength.
Crest rail template for overhead pin router.
Back in lock-down
Taking shape
Coming together
Rounded over.
Shaped, sanded and glued up.
Complex glue up getting everything together!
Stained
Original